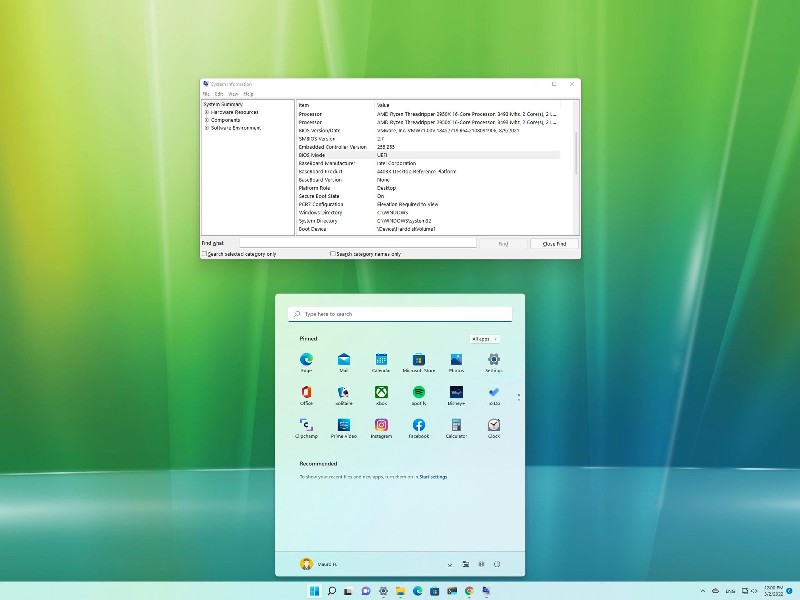
We may receive the following error message when we attempt to install Windows 11 on our current computer or run Microsoft PC Health Check or any other third-party tools to verify that it can run Windows 11. Secure Boot must be enabled on the PC. What is Secure Boot? What is Secure Boot?
Secure Boot
UEFI provides a firmware verification process (“Secure Boot”) that is described in Chapter 27 of UEFI Specification 2.3.1 Errata C. Secure Boot describes how the platform firmware manages security certificates and how to verify firmware. Simply put, it is to verify the hardware using the TPM chip on the motherboard and then start.
Do I need to enable or disable Secure Boot?
You must turn on secure boot if you are going to install Windows 11 (not an upgrade from Windows 10 via the Insider Program).
Safe Boot test should not be enabled if your computer runs Windows 7.
How do I enable Secure Boot?
The BIOS settings on the motherboard can be used to enable Secure Boot. Different brands of motherboards and computers have different ways to activate Secure Boot. This article will demonstrate how to activate the Secure Boot on MSI, ASUS, Lenovo, Dell, HP notebooks and other brands. For motherboards and computers of other brands, please consult the manual or contact the manufacturer.
How do I enable Secure Boot on an MSI motherboard?
- To turn on the PC, press power button. Next, press F2 or the Delete key continuously until you reach the BIOS setup.
- Next, select Security.
- Secure Boot can be changed to enable
- To save settings, press F10 and then restart your system.
The Secure Boot location for older models will differ slightly. It may be located in Advanced – Windows OS Configuration Secure Boot Secure Boot Secure Boot – Enable
How to enable Secure Boot on an ASUS chip processor?
You can know from here- how to turn on secure boot asus in 2022. Check steps below-
- Press and hold the F2 button until the laptop turns on. Then, click the power button. (Don’t release the F2 button before the BIOS screen displays.
- Use HotKey F7 to go to Advanced Mode
- Select Security and then choose Secure Boot
- Next, select Secure Boot and then choose Enabled
- Setup Save and Exit
How to enable Secure Boot on my Lenovo laptop?
- To turn on a personal computer, press power button. Next, press F2 or Fn+F2 immediately to enter the BIOS.
- Select Security – Secure Boot and then select Enabled
- Save your changes and exit
Click the link to see if it’s a Think brand (ThinkPad or ThinkStation, ThinkCentre).
How to enable Secure Boot on Dell laptops?
- To turn on a personal computer, press power button. Next, press F2 orF12 to enter BIOS.
- Select Boot – Secure Boot and then select Enabled
- To save or exit, press F10.
How to enable Secure Boot on HP laptops?
- To turn on a personal computer, press the power button. Next, press the Esc key repeatedly to open the Startup Menu.
- Choose the option BIOS Setup F10
- Next, select Advanced – Secure Boot Configuration
- Click Configure Legacy support and Secure boot, then select Legacy Support Disable or Secure Boot Enable.
- Save your changes and exit
I hope you like reading this article.


